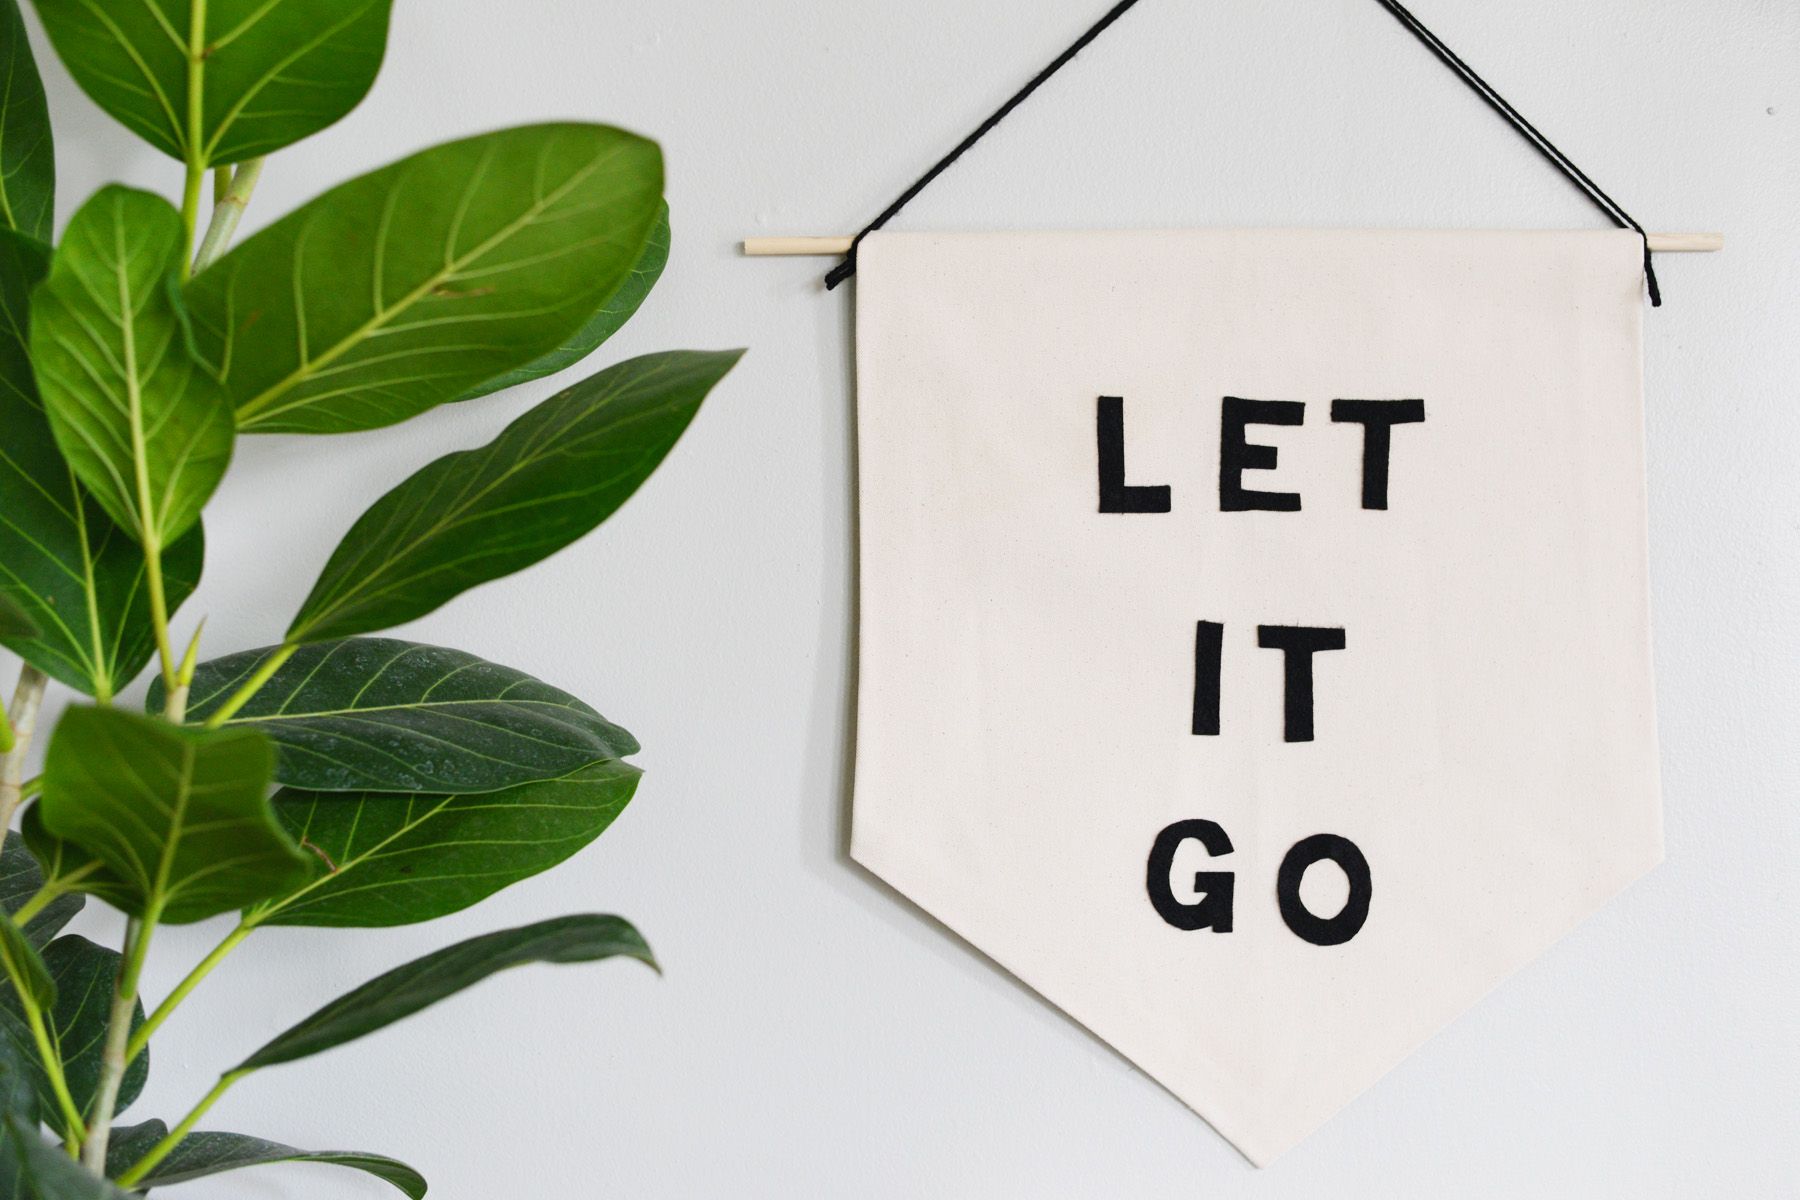
DIY Banner For Birthday or With Your Favorite Inspirational Phrase
Loving the pendant phrase tendency? Create your ain "LET Information technology Get" or "IT'S OK" imprint with a few bones craft supplies and save some major pennies! Or go actually creative and come up upward with your own special phrase or family proper noun to brandish on your wall!
 View in gallery
  View in gallery
 Supplies yous'll demand for banner:
- Canvas
- Black felt
- Sewing scissors
- Straight border with a measure
- Rotary cutter
- Cutting mat
- Dowel rod
- Iron
- Ironing lath
- Textile gum
- Fe-able fabric fuse
- Phrase impress out (in a assuming font with upper-case letter letters)
How to make a birthday imprint or with your favorite phrase:
 View in gallery
 Step one: Measure and cut
Measure and cut a piece of canvas in a large rectangle. When measuring and cutting, keep in mind seam allowance (approximately 1/2″ all-around your banner and almost 2″ at the top) when planning out your pendant size.
Stride two: Folding
To turn a bones fabric rectangle into a tapered pendant, fold the rectangle in half lengthwise and cutting a diagonal line towards the bottom of the rectangle to create an upside-down business firm shape.
Step iii: Ironing
Plug in your iron and permit sit. Start at the bottom of the pendant and fold the edges towards the back of the pendant. Cut a piece of cloth fuse and identify in the seam.
Step 4: Sealing
Iron the seam to permit the fabric fuse to melt and adhere the canvas against itself in the seam. Iron for a infinitesimal or ii to seal. Go along doing this along both sides of the pendant until all the sides take been hemmed. Get out the top open up.
 View in gallery
 Footstep 5:Room for the dowel
Fold the elevation portion of the pendant downwards over the dowel with enough room for the dowel to slide hands in and out of the sleeve you created. Cutting a piece of textile fuse and iron in place to finish off the top sleeve.
Step 6: Cutting letters
Cutting out your messages from your paper and utilize as a template for cut out felt messages.
Step 7: Arrange all your letters on your banner.
Step viii: Gum procedure
Glue your letters in place with fabric mucilage. Utilize to the back of the letters and printing the letters on the canvas. Allow dry according to the instructions on the back of the bottle of fabric gum.
Once your imprint is washed, hang on the wall with a piece of painter'south record (if you desire an easily removable choice) or place a nail in the wall and hang it up to display your new wordy piece!
 View in gallery
  View in gallery
  View in gallery
 Source: https://www.homedit.com/diy-phrase-pendant/
0 Response to "DIY Banner For Birthday or With Your Favorite Inspirational Phrase"
Post a Comment